Melissa's Cuisine: January 2014

Friday, January 31, 2014

Cheesy Potato Soup {Flashback Friday}

Sometimes you just need a big bowl of comfort food. And this Cheesy Potato Soup, my friends, will satisfy those desires!
Melissa's Cuisine: Cheesy Potato Soup {Flashback Friday}
It feels like it has done nothing but snow this winter.  And every time it snows we end up under a Winter Weather Advisory, or Watch, or Warning....  What ever happened to a little light snow fall?  Enough of this craziness!  We've already surpassed our average seasonal snowfall and it's only the end of January. Ay yi yi...

I don't know about you, but when the weather is this cold and dreary, I find myself craving comfort foods: homemade macaroni and cheese, chili, cheesy potato soup.  Foods that warm the body and the soul.  This Cheesy Potato Soup certainly fits my idea of comfort food, a big bowl of it whisks the cold chill away.  Every one who tries this soup loves it and I'm constantly asked for the recipe.  Give it a try, I'm sure you'll love it too!

Get the recipe:  Cheesy Potato Soup

Wednesday, January 29, 2014

Skinny Chocolate Peanut Butter Mug Cake

When you are craving a delicious slice of chocolate cake, but don't want the temptation of an entire cake, this Skinny Chocolate Peanut Butter Mug Cake will be your best friend!
Melissa's Cuisine: Skinny Chocolate Peanut Butter Mug Cake
There are just some days when you need a chocolate.  I had a couple of those days this week.  Like most of the country, we've been hit by (yet another!) polar vortex, dumping insane amounts of snow and bringing along frigid temperatures.  After being snowed in for 2 days, I was starting to go stir crazy.  So what did I do?  Headed to the kitchen of course!

I really wanted to make a pan of brownies, they were just calling my name!  But since I'm doing my best to eat healthier, and exercise more frequently, to lose this stubborn baby weight, I knew a pan of brownies was the last thing I needed sitting on my kitchen counter!  So when a friend posted a picture of her afternoon snack, a mug cake, on Facebook, I knew that was the solution to my problem.

I modified the recipe to make it skinny.  Though, I should warn you, skinny is still a bit of a misnomer.  This cake clocks in at 362 calories, but most of those come from the coconut oil and peanut butter.  Both are healthy sources of fat and calories.  Compared to most other mug cakes which contain at least twice as many calories, I'd still count this one as skinny!

This cake uses coconut oil as a source of fat, rather than vegetable oil or eggs, which eliminates that rubbery texture.  I will warn you though, if you're looking for an extremely rich and chocolatey cake, this probably isn't for you. It's not terribly sweet, though you could certainly add in more sugar if you wanted.  However, if you are looking for a fairly healthy and delicious way to indulge your chocolate craving without breaking the calorie bank, this cake is for you!
Melissa's Cuisine: Skinny Chocolate Peanut Butter Mug Cake
Skinny Chocolate Peanut Butter Mug Cake

Ingredients:
2 Tablespoons whole wheat flour
2 teaspoons cocoa powder
2 teaspoons sugar (can substitute Splenda)
1/4 teaspoon baking powder
dash of salt
1 Tablespoon coconut oil, melted
2 Tablespoons milk
1 teaspoon mini chocolate chips
1 Tablespoon natural peanut butter

1.  In your mug, combine the dry ingredients.

2.  Stir in the coconut oil, milk, and mini chocolate chips.

3.  Scoop the peanut butter on top of the cake batter.

4.  Microwave on high for 60 seconds.  (Since microwaves vary, you may need to experiment with the time, adding or subtracting 5-10 seconds.)

Nutrition facts (as calculated by My Fitness Pal): Calories 362; Fat 24.7 g; Cholesterol 1.9 mg; Sodium 208.3 g; Potassium 177.5 g; Carbs 30.6 g; Fiber 1 g;  Sugar 14 g;  Protein 7.1g

Monday, January 27, 2014

Game Day Recipes

Melissa's Cuisine: Game Day Recipes
One of my favorite eating days of the year is less than one week away!  I'll admit, I don't really care about the football game.  In fact, I couldn't even tell you who is play in this years' Superbowl.  But, what I do know is that I love preparing the appetizers to eat during the game!  The first year we were married, Mike and I hosted a Superbowl Party; since then we have kept it more low key and enjoyed the game with just the two of us!  Mike looks forward to watching the game, and I look forward to the commercials and the food.

Today I've rounded up a list of my favorite appetizers, snacks, and desserts from what I posted in the past year.  I can tell you one thing for sure, you'll be eating good this Superbowl Sunday!
Chocolate Peanut Butter Bugles

Pepperoni Pretzels
Bacon Appetizers
Cosmic Brownies

Layered Finger Jello (Team colors, anyone?!)
Pepper Jelly Appetizer
Pizza Sliders
Speedy Little Devils

Chili Dogs
Meatball Stuffed Rolls

Gingerbread Spread

Mini Strawberry Cheesecakes
Peanut Butter Oreo Popcorn

Spicy Cheese Dip

BBQ Chicken Nachos


Friday, January 24, 2014

Make Dinner Easy With Manwich!

This post brought to you by Manwich. All opinions are 100% mine.

Melissa's Cuisine: Manwich for Dinner
If you're looking for an incredibly simple, delicious, and healthy dinner idea, look no further than Manwich!  It's something I bet nearly everyone has grown up with, though the concept may have different names.  In my family, we call it Sloppy Joes, but Mike's family refers to this meal as barbecue.  Whatever you call it, Manwich is something sure to please everyone in the family.

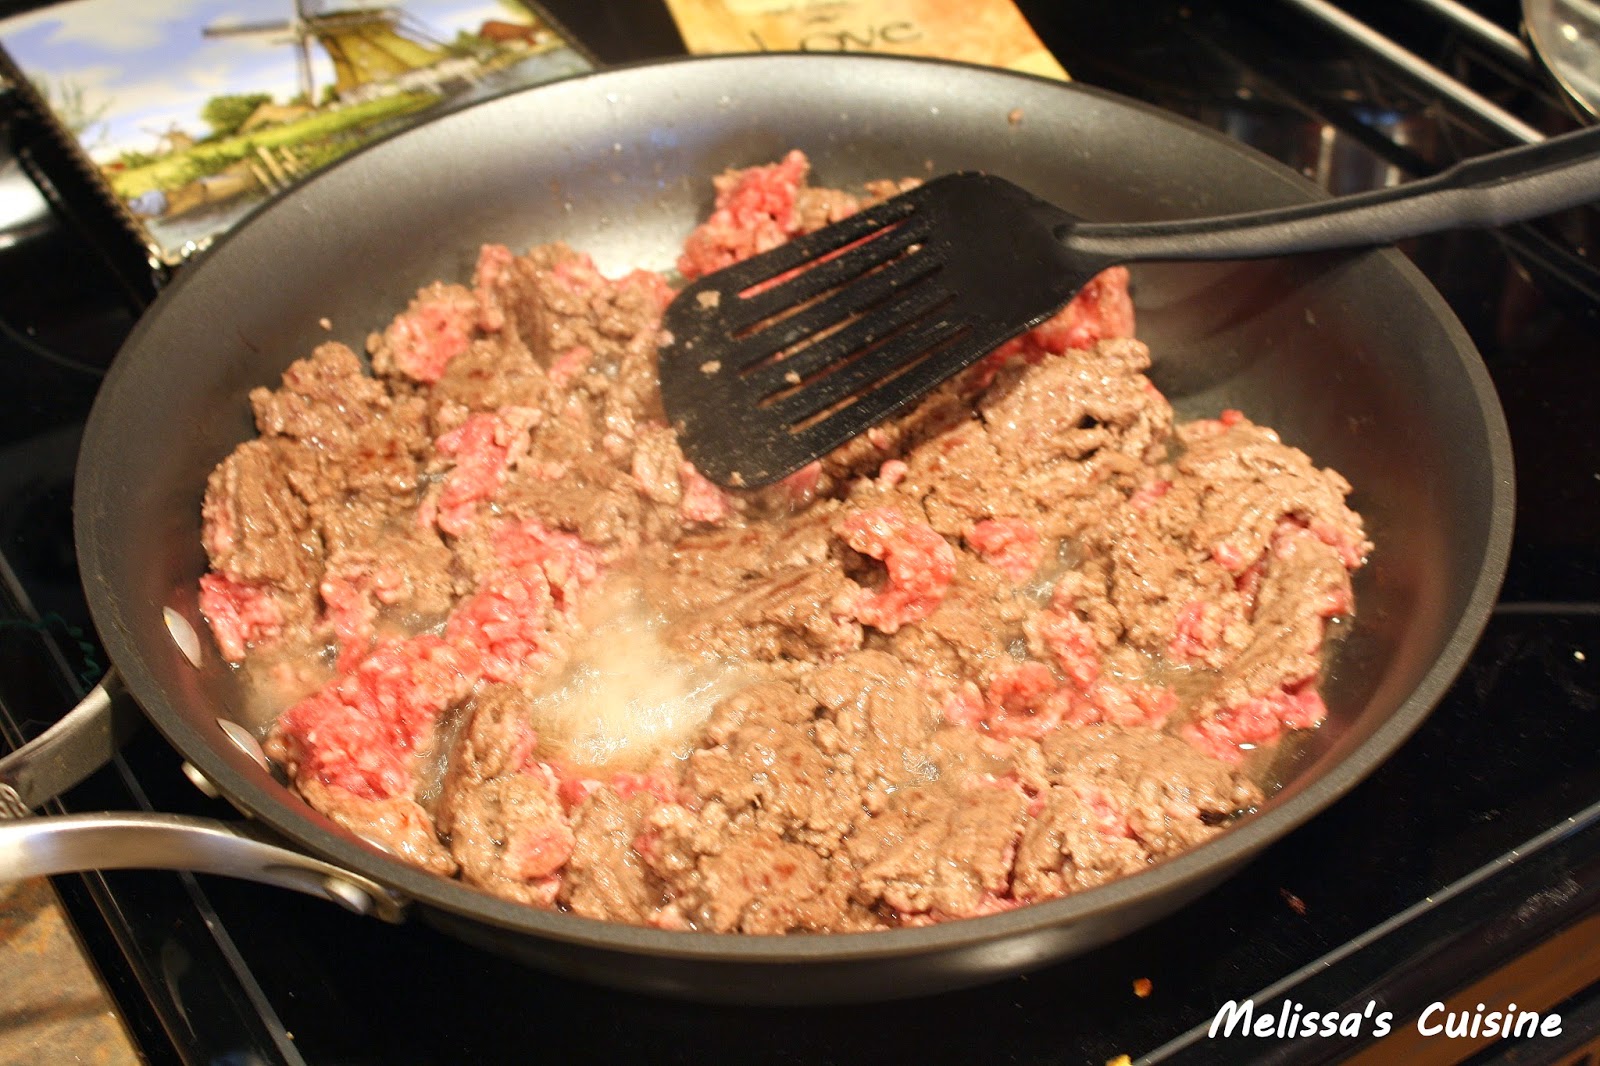
Mike and I sampled three Manwich flavors: Original, Bold, and Thick & Chunky.  Our favorite was the Thick  & Chunky.  We both loved the taste of each of the flavors.  I especially loved how easy the meal was to prepare.  Just 2 quick steps: brown the meat, and add in the sauce.
Melissa's Cuisine: Manwich for Dinner Melissa's Cuisine: Manwich for Dinner


I was also pleased to find out that Manwich is free of artificial flavors and preservatives, and each can offers a full serving of vegetables.  When you have someone who doesn't care for veggies (Mike, I'm looking at you!), it's nice to be able to sneak something healthy into your meals!

I served the Bold and Thick & Chunky flavors in the most simple way possible, on a bun!  Accompanied by a salad, fresh veggies, and some french fries, we were in for a delicious meal!  I chose to serve the Original Manwich as a sauce on top of noodles.  Mike had never had it that way before and we both loved it!  If you'd like more ideas for serving your Manwich, check out these delicous Manwich Recipes!

If you would like to find out more about Manwich, please check out these Manwich TV Ads!

Visit Sponsor's Site

Monday, January 20, 2014

Salted Caramel Fudge

A smooth chocolate fudge, with a surprise ingredient for the caramel, topped with a pinch of salt. And made in only 5 minutes! Could it be the best fudge ever?
Melissa's Cuisine: Salted Caramel Fudge
Towards the end of last summer, Mike, Summer and I ventured out to a local blueberry farm. After seeing multiple television commercials advertising ask the farm had to offer we decided to check it out. It was our first real outing as a family of three and we were hoping to make an afternoon of it. Unfortunately however, we quickly realized that the small barn had been hyped up on TV and the farm was not at all what we expected. Our little trip lasted about 15 minutes.

We walked away with a box of blueberries, some donuts, and a box of assorted fudge. Yes, fudge from a blueberry farm. And it didn't disappoint! That box of fudge is what redeemed the blueberry farm for us.  We savored every last bite and are already looking forward to going back this summer.  Going to a blueberry farm for fudge...that's us!

I was assigned to The Kitchen Witch for this month's Secret Recipe Club.  It didn't take me more than a few minutes of browsing through Rhonda's blog to decide which recipe I would be making.  (Though so many o her recipes looked amazing!)  Her recipe for Salted Caramel Fudge immediately caught my eye and I was smitten.  Especially when I read the ingredient list and realized how simple the recipe really was.  I was pleasantly surprised to see that the caramel in the recipe came from one of my favorite candies--Milk Duds!

Seriously, could this recipe get any better?

I quickly found out it couldn't!  The fudge came together in about 5 minutes.  After 2 agonizing hours in the fridge it had hardened enough for me to cut into it. My first bite was everything I hoped for--a sweet and creamy fudge, with the perfect amount of saltiness, and a bite of caramel.  Delicious!
Melissa's Cuisine: Salted Caramel Fudge

Salted Caramel Fudge

Ingredients:
3 cups chocolate chips
1 can sweetened condensed milk
pinch of salt
1 cup Milk Duds
coarse salt (I use Himalayan Pink Salt)

1.  In a microwave safe bowl, combine the chocolate chips, sweetened condensed milk, and a pinch of salt.

2.  Microwave for 1 minute and then stir.  Return to the microwave and heat in 20 second increments, stirring each time, until the chocolate is melted and the mixture can be stirred smooth.

3.  Stir the Milk Duds into the chocolate mixture.

4.  Spread the fudge into an 8x8" pan that has been lined with foil.

5.  Sprinkle the fudge with coarse salt.

6.  Refrigerate fudge for at least 2 hours, until set.

7.  Cut the fudge into 1" squares.  Store in an airtight container in the fridge, but serve the fudge at room temperature.

Source: The Kitchen Witch

Wednesday, January 15, 2014

Peanut Butter Oreo Popcorn

Popcorn with a peanut butter and white chocolate coating.  And Oreos.  What's not to love?
Melissa's Cuisine: Peanut Butter Oreo Popcorn
I am a big snacker. What can I say? I just love food :-) The worst part though, is when I get in a snacking mood, I want to eat everything. Everything.  Maybe that's why this baby weight is still hanging on...

One of  my favorite snacks has always been popcorn.  I'm a sucker for a bag of freshly popped buttery popcorn, but I also love the air popped stuff.  We have a variety of flavors that we use on our popcorn.  Even homemade flavors like apple cinnamon! I haven't always been a fan of Oreos, but when I was pregnant I craved them.  I remember telling a friend how I ate an entire sleeve in one sitting (a big deal for me!) and he laughed and said he could eat a whole package!  Apparently everyone loves Oreos.

Then I saw this idea combining popcorn, peanut butter, and Oreos.  It was a pregnant snacker's dream come true!  I still love in now.  In fact, I'm off to make a batch...and put on my stretchy pants...

Melissa's Cuisine: Peanut Butter Oreo Popcorn
Peanut Butter Oreo Popcorn

Ingredients:
1 bag microwave popcorn
8 ounces almond bark (or white chocolate chips)
1/4 cup peanut butter
16 Oreos, coarsely chopped

1.  Pop popcorn according to directions on the package.

2.  Pour the popcorn into a large bowl and remove all the unpopped kernels.

3.  Place the almond bark in a microwave safe bowl and microwave for 1 minute.  Stir and add the peanut butter.

4.  Microwave in 30 second increments, stirring each time, until the chocolate mixture is smooth.

5.  Pour the peanut butter mixture over the popcorn and stir.  Add the Oreo pieces and stir again.

6.  Pour the popcorn onto a baking sheet lined with waxed paper.  Allow the chocolate to cool until set.

Store in an airtight container.  This popcorn is best eaten the day it is made.

Source: Crazy for Crust

Monday, January 13, 2014

Spicy Cheese Dip

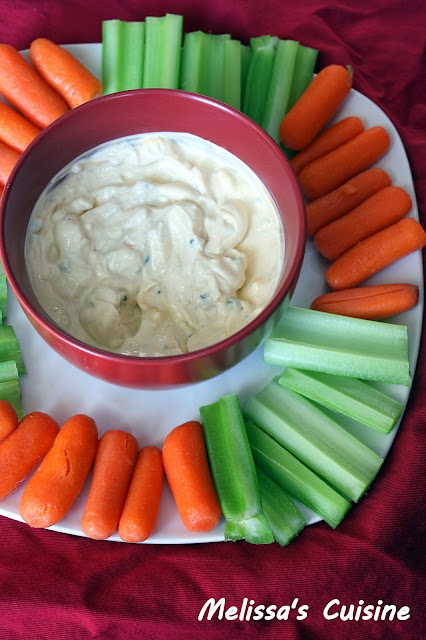
A creamy dip with chunks of cheese and burst of flavor from hot sauce.  Serve it with veggies or crackers for a delicious appetizer!
Melissa's Cuisine: Spicy Cheese Dip
Mike and I bought a Groupon deal to Sam's Club last year; we'd been talking about purchasing a membership for a while and the deal was too good to pass up!  Can we just talk for a minute about how much I love saving money?  There are so many awesome deal sites out there like Groupon and Eversave, as well as rebate apps like Ibotta that give you money back on groceries.  (Check out my Facebook page this week as I will be sharing some of my favorite deal sites!)  It's the Dutch in me, but I love saving money however I can!  Now that I am only working part-time, the more ways we can save money the better!

Of course a membership to a bulk store like Sam's can be both a blessing and a curse.  Yes, we get things cheaper that in other stores, but I also end up purchasing more than I intend to!  Oh well, it all balances out.  I think....

Anyway, we like going to the club on Saturdays because they often do food samples.  Who can say no to that?! One of the last times we were there, we sampled a dip that we both loved.  Mike asked what was in it and we were told milk, mayo, cheese, and hot sauce.  4 ingredients, how could you go wrong?  Mike decided that he liked it enough we had to buy an enormous jar of mayonnaise, and that we would make this for our Christmas Eve celebration.

The dip can be adjusted to meet your preferences.  Since we didn't have measurements, just ingredients, I kind of winged it when making the dip.  We like smaller pieces of cheese, and a good amount of spice in our dip.  But feel free to make it how you want to!
Melissa's Cuisine: Spicy Cheese Dip
Spicy Cheese Dip

Makes approximately 1 cup

Ingredients:
1/2 cup mayonnaise
1 Tablespoon milk
4 ounces Gorgonzola cheese
1 teaspoon hot sauce

1.  Mix the mayonnaise and milk in a small bowl.

2.  Crumble the Gorgonzola cheese and add it to the mayonnaise.

3.  Stir in the hot sauce (add more if desired).

Serve cold with vegetables or crackers.

Friday, January 10, 2014

BBQ Chicken Nachos

A flavorful mix of chicken and barbeque sauce on top of a crunchy chip.  It's a great appetizer for game day!
Melissa's Cuisine: BBQ Chicken Nachos
The Superbowl is just over 3 weeks away and, if you're like most people, you're probably expecting to munch some delicious appetizers while watching the game.  These BBQ Chicken Nachos are the perfect finger food and I know I will be making them for our Superbowl party (even if it's just the 3 of us!)

When SunChips contacted me and asked if I would be interested in sampling their new Sweet & Spicy BBQ chips, I jumped at the opportunity--mostly for Mike.  He loves BBQ chips and so I knew these chips would be a hit with me.  I, on the other hand, am not typically a fan of BBQ chips, so while I planned on trying a few, I didn't think I would be the main person reviewing the chips.  But, I was pleasantly surprised at how much I enjoyed these chips!  They aren't overpoweringly BBQ flavored, nor do they have the fake BBQ taste.  It's safe to say that SunChips has won me over on their BBQ chips!

Along with the chips, I received a recipe booklet filled with ideas for the chips.  Now, usually, I'm an eat-my-chips-plain kind of girl.  I've never really thought of putting anything on top of my chips or using them in a recipe, unless you count pickle dip or a big plate of nachos.  But when I saw their recipe for BBQ Chicken Nachos, I was immediately intrigued.  My version is a very simplified version of the one in the recipe book (due to lack of ingredients on my part), but it was delicious!  I don't know if I'll ever eat chips plain again...
Melissa's Cuisine: BBQ Chicken Nachos
BBQ Chicken Nachos

2 chicken breasts, cooked and diced
1/2 cup BBQ sauce
20 Sweet and Spicy BBQ SunChips
1/2 cup shredded cheddar cheese

1.  In a bowl, combine the diced chicken and BBQ sauce.

2.  Place chips on a baking sheet and scoop some of the chicken mixture on top of each chip.

3.  Top chicken with shredded cheese.

4.  Place under the oven broiler for approximately 3 minutes, until the cheese has melted.

Inspired by SunChips

Disclaimer:  I was sent a sample package from SunChips for the purpose of this review.  I was not compensated for this post.  All thoughts and opinions are mine.

Thursday, January 09, 2014

Hot Chocolate Cookies

A double chocolate cookie topped with more chocolate and a toasted marshmallow. It's hot chocolate in cookie form!
Melissa's Cuisine: Hot Chocolate Cookies
What a week!  Half our state has been shut down for the past 3 days due to a huge snowstorm!  My work was actually closed on Monday and Tuesday, and that never happens.  All the kids I know where ecstatic to have their Christmas vacation extended by 2 days.  Some schools were still closed yesterday due to the snow covered and icy roads.  I drove into work and the roads were certainly messy.

It's days like this week that I love nothing more than to cuddle up on the couch with a good movie, a blanket, and a cup of hot chocolate.  And this week I did just that...plus I enjoyed a few of these Hot Chocolate Cookies.  I made them for our small group and everyone loved them.  Our host even kept a few because he liked them so much.

These double chocolate cookies are baked and then topped with chocolate and marshmallows.  The chocolate melts and the marshmallow gets all gooey...  One bite and you'll be in love!

This month's Behind the Curtain Dessert Challenge ingredients are cocoa and marshmallows.  I'm happy to link this recipe up for this month's challenge.  Be sure to check out the other recipes in the linky below.
Melissa's Cuisine: Hot Chocolate Cookies
Hot Chocolate Cookies

Makes 36 cookies

Ingredients:
1 stick butter
12 ounces semi-sweet chocolate chips
2-1/2 cups flour*
1/4 cup cocoa powder
1-1/2 teaspoons baking powder
1/4 teaspoon salt
1-1/4 cups brown sugar
3 eggs
1-1/2 teaspoons vanilla
1/4 cup chocolate chips
36 marshmallows

1.  In a small saucepan, melt the butter and chocolate until the mixture can be stirred smooth.  Set aside to cool.

2.  In a medium bowl mix together the flour*, cocoa powder, baking powder, and salt.

3.  In the bowl of your stand mixer, beat together the brown sugar, eggs, and vanilla.

4.  Add the chocolate mixture and mix until combined.

5.  Slowly add the flour mixture and beat until just combined.

6.  Refrigerate the dough for 1 hour.

7.  Scoop the dough out and roll into 1 inch balls.

8.  Place dough balls about 2" apart on parchment lined baking sheets and flatten slightly with your palm.

9.  Bake cookies at 350 for 12 minutes.

10.  Remove baking sheets from the oven.  Quickly top each cookie with 4-5 chocolate chips and a marshmallow.

11.  Return the cookies to the oven for approximately 4 minutes, until the marshmallows are softened and begin to brown.

Allow the cookies to cool slightly before serving.  These cookies are best eaten warm (when the marshmallow and chocolate is melted), however they can easily be warmed for a few seconds in the microwave before serving.  I enjoyed them the next day without reheating as well.

*The original recipe called for 1-1/2 cups flour.  If you want, start with that amount.  I found that after adding 1-1/2 cups, my dough had the consistency of a cake batter, so I was unable to roll the dough.  I added an additional cup of flour.  After refrigerating, the dough was easy to work with.  Depending on the humidity in your house (I made these in January in Michigan) as well as other factors, you may not need to add an additional cup...use your best judgement and feel free to ask me questions!

Source:  Pip & Ebby

Monday, January 06, 2014

Cake Batter Pretzels

It's a cake flavored soft pretzel...complete with sprinkles on top!
Melissa's Cuisine: Cake Batter Pretzels www.melissas-cuisine.com

Today was supposed to be my day to get back into the daily grind after taking a break for the holidays, however...

It is bitterly cold outside today!  Wind chills are expected to reach 30 below 0!  Snow drifts are so high I can't tell where my driveway is.  Every school in the area is closed, and a lot of businesses are too.  I received a text last night saying that my office was closed today and as I watch the television more business closings are being posted.  We have some friends who plow snow and they are posting on Facebook how bad the roads and visibility are.  Sounds to me like a good day to stay inside and bake!

These Cake Batter Pretzels would be the perfect treat for a snow day!  They may look like your basic pretzel with the addition of sprinkles, but one bite will tell you that these pretzels are something special!  A generous portion of cake mix is added to the flour when making these pretzels.  These cake batter pretzels taste like you're eating cake, but the texture and look is that of a pretzel.  It's like two of my favorite snacks in one!

I used a yellow cake mix for my pretzels, but you could use any flavor you'd like.  Devil's food, red velvet, carrot cake...can you imagine the possibilities?
Melissa's Cuisine: Cake Batter Pretzels www.melissas-cuisine.com
Cake Batter Pretzels

Makes 12 pretzels

Ingredients:
1 package yeast (2-1/4 teaspoons)
1-1/4 warm water
1-3/4 cup yellow cake mix
1/2 teaspoon salt
2-3/4 cups flour
1 Tablespoon baking soda
water
1 egg
sprinkles

1.  Add the yeast to the warm water and stir gently.  Let it sit for about 5 minutes.

2.  In the bowl of your stand mixer, combine the cake mix and salt.

3.  Add the yeast mixture to the cake mix and stir with the dough hook attachment.

4.  Add in the flour and mix on low speed until the dough comes together in a ball. 

5.  Place the dough in a greased bowl and cover with plastic wrap.  Allow the dough to rise for 1 hour.

6.  Turn the dough onto a floured surface and knead gently to deflate the dough and form a ball. 

7.  Divide the dough into 12 equal pieces.

8.  Roll each piece of dough into a long rope, about 15" long.  Form a pretzel shape by bringing the 2 ends up, crossing them, and bringing them back down to the bottom.

9.  Boil a large pot of water and add the baking soda once the water boils.  (The water can be started while you're forming the pretzels.)

10.  Working in small batches, 2-4 pretzels at a time, boil the pretzels in the baking soda water until they float.  Remove with a slotted spoon and place on a baking sheet lined with parchment paper.

11.  Once all the pretzels are boiled, whisk the egg in a small bowl.  Brush a small amount of the egg on top of each pretzel and top with the sprinkles.

12.  Bake at 350 for 13-15 minutes, until golden brown.  Cool before removing from the pans.

These pretzels are best eaten the day they are baked, but can be stored in an airtight container at room temperature.

01 10 11 12
Blogging tips